
.png)
How to Insert a GIF into an Email
GIFs are the perfect way to add a touch of fun and personality to your emails. They can be used to illustrate a point, express an emotion, or simply add a break from the monotony of text. And the best part is, they're surprisingly easy to insert into your emails.
In this comprehensive guide, we'll walk you through the step-by-step process of adding GIFs to your emails, regardless of the email client you're using. So whether you're a seasoned email pro or a complete beginner, you'll be able to GIF-ify your messages in no time.
How to put a GIF in an E-mail?
Add a GIF to email is a great way to add personality and visual interest to your messages. Here's a step-by-step guide on putting a GIF in an E-mail:
Step 1: Find the Perfect GIF
Choose a GIF that is relevant to your email. For example, if you're sending a thank-you note, you could use a GIF of someone saying "thank you." If you're sending a marketing email, you could use a GIF that promotes your product or service.
Make sure the GIF is appropriate for your audience. Consider the tone of your email and the relationship you have with the recipient. For example, you might not want to send a GIF that is too silly or humorous to a professional contact.
Use GIFs from reputable sources. There are many websites where you can find GIFs, such as GIPHY, Tenor, and Reddit. Be sure to choose a website that has a good reputation for providing high-quality GIFs.
Step 2: Copy the GIF URL
Once you've found the perfect GIF, copy its URL. This is the address of the GIF image file. To copy the URL, right-click on the GIF and select "Copy Image Address" or "Copy Image URL."
You can also copy the URL from the GIF's embed code. The embed code is a piece of code that you can paste into your email to embed the GIFs in Email. To find the embed code, look for a button that says "Embed" or "Copy Embed Code."
Step 3: Insert the GIF in Email
Open your email client and compose a new email.
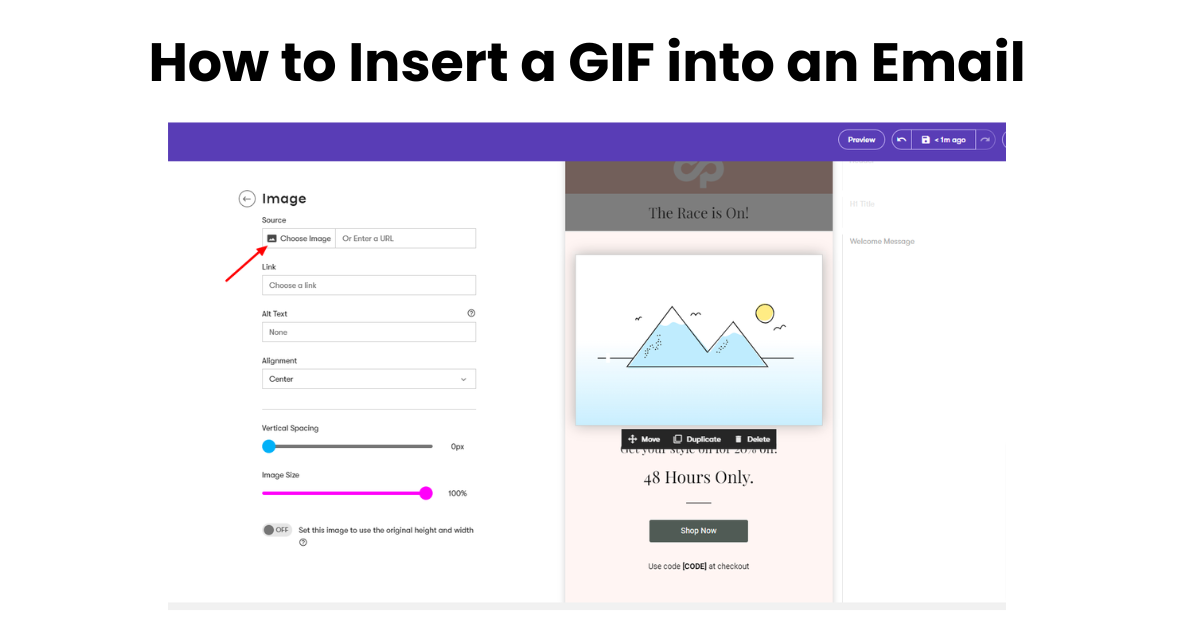
Click on the "Insert Image" or "Insert Photo" button. This button is typically located in the toolbar or formatting options for the email body.
Select the "Insert from URL" option. This will allow you to paste the GIF URL into your email.
Paste the GIF URL into the URL field and click "Insert." The GIF will be inserted into your email.
Step 4: Resize and position the GIF
Click on the GIF to select it.
Use the resize handles to adjust the size of the GIF. You can also drag and drop the GIF to move it to the desired location in your email.
Step 5: Send GIF-infused email
Review your message one last time to make sure you're happy with it.
Click on the "Send" button to send your email.
How to insert GIF into Gmail?
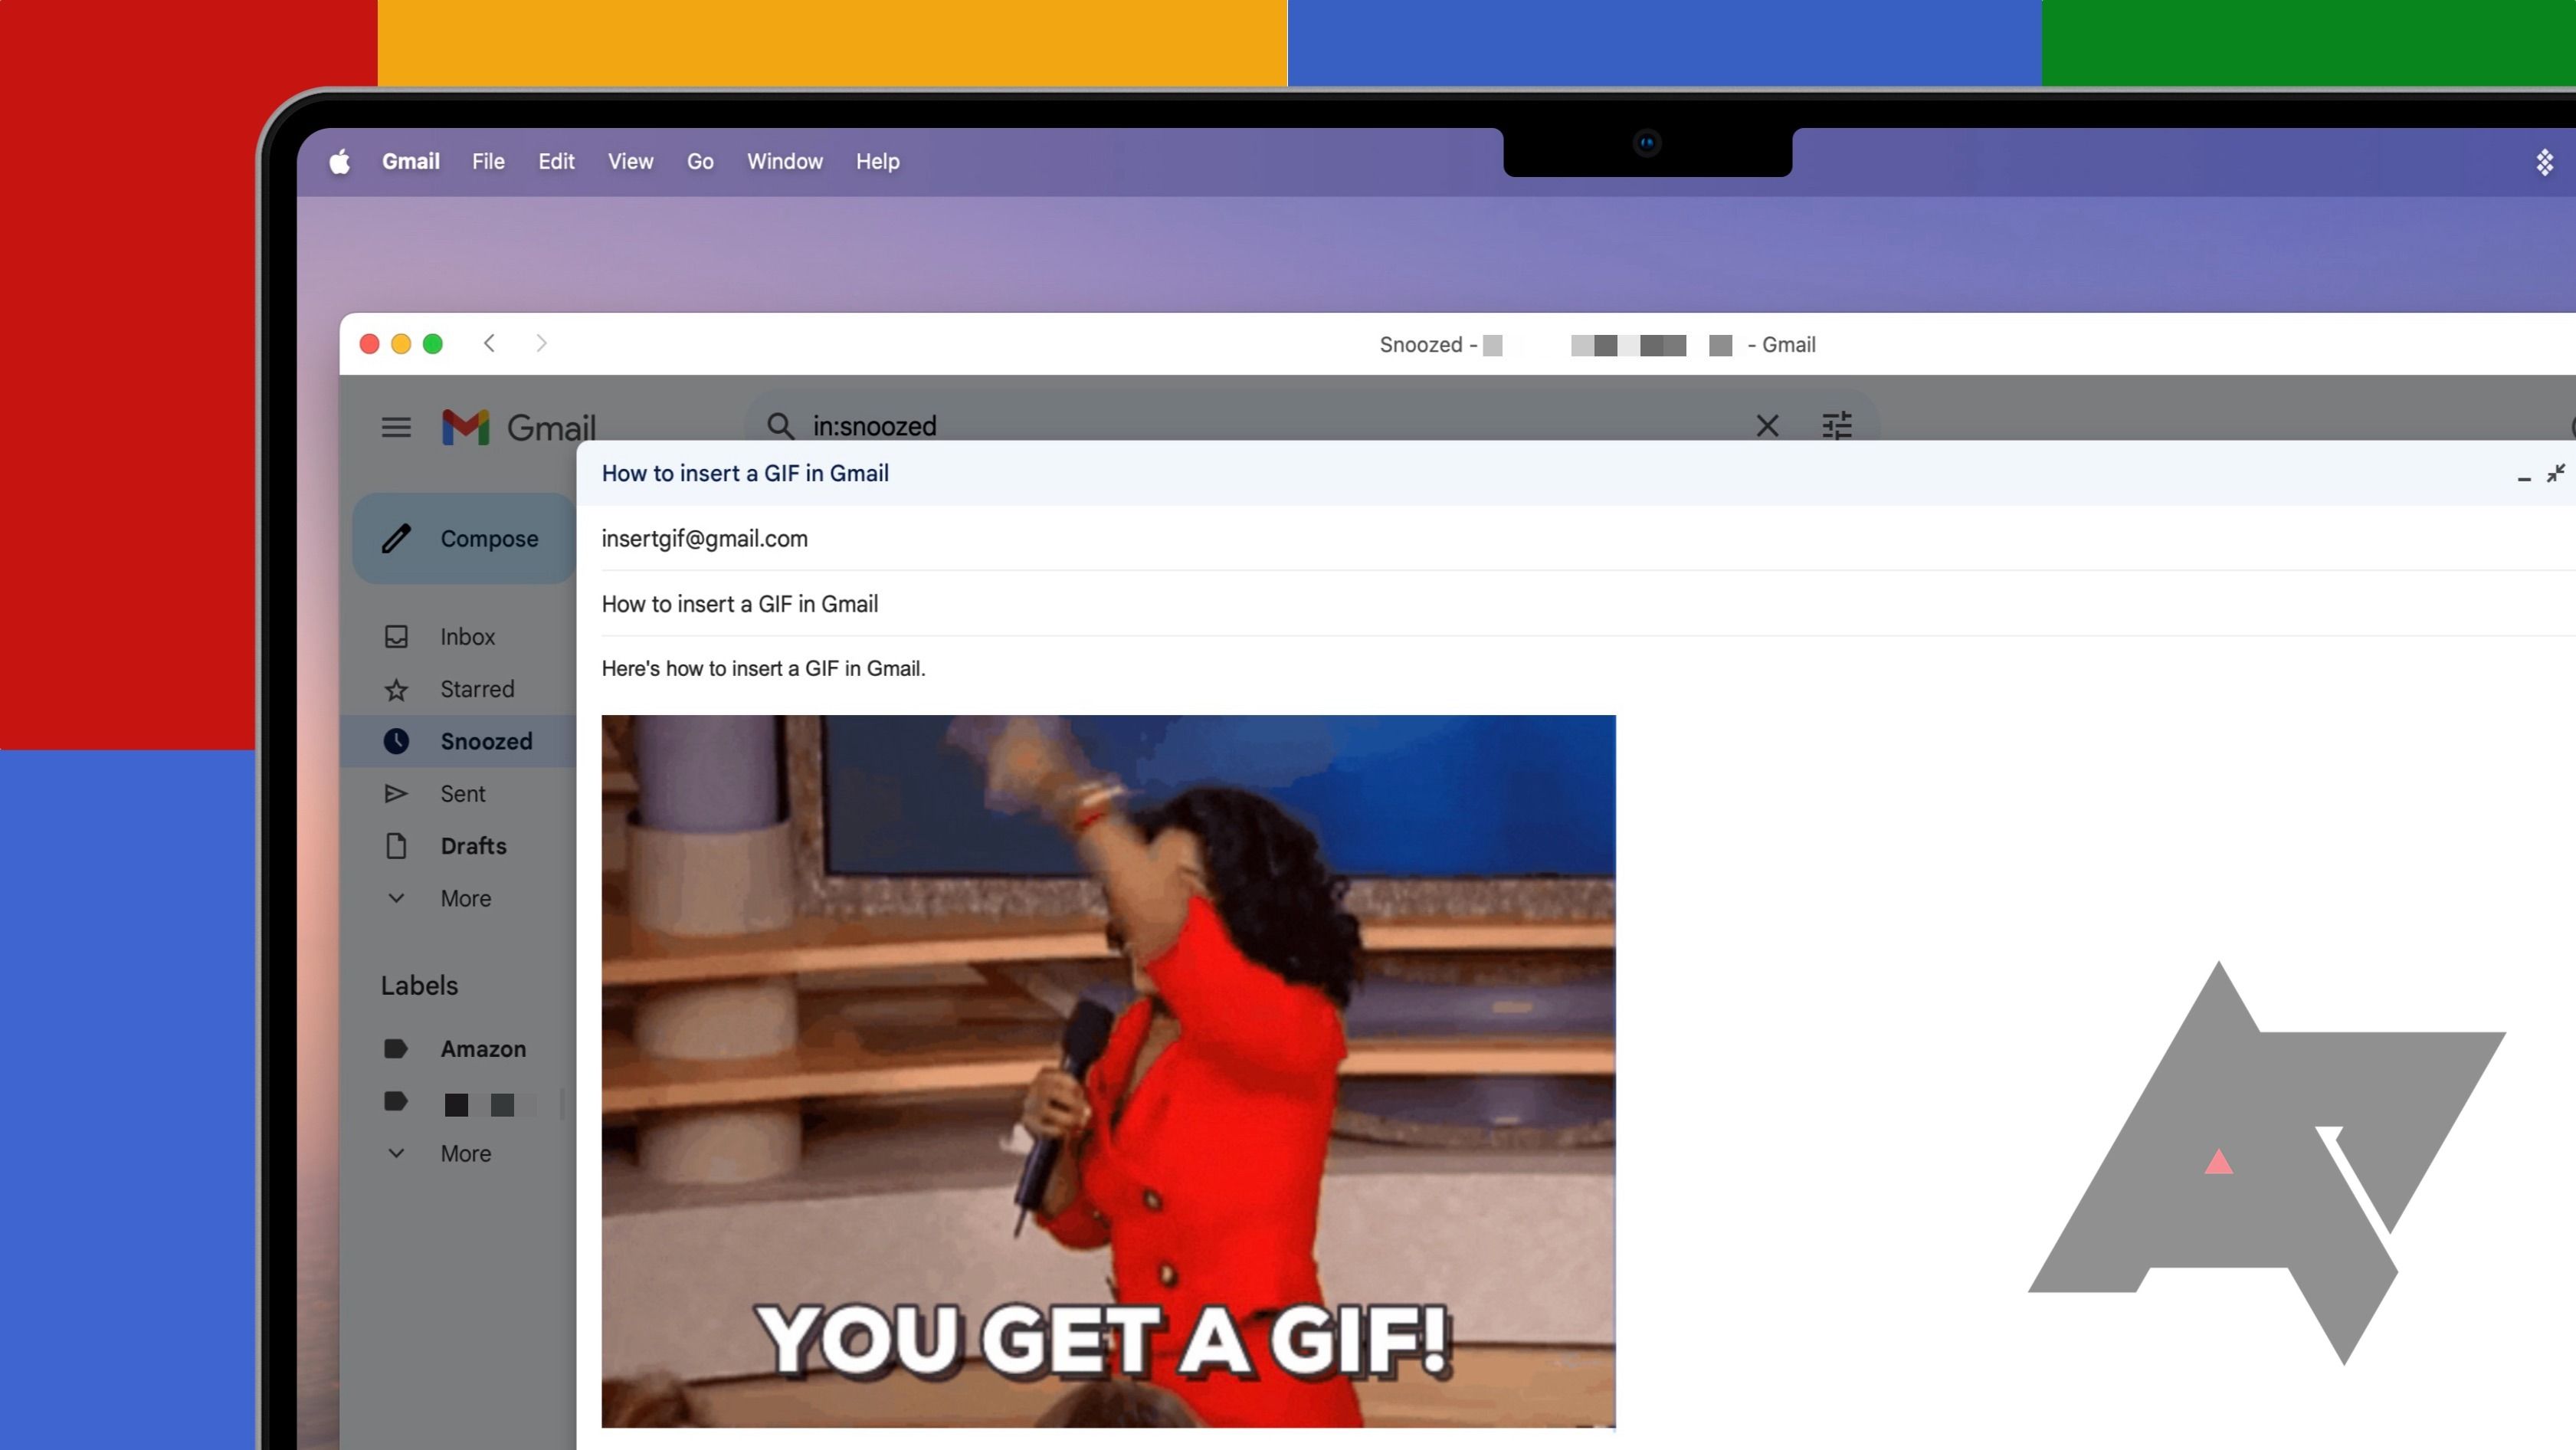
There are two ways to insert a GIF into Gmail:
Method 1: Using the Insert Photo button
- Open Gmail and compose a new email.
- Click on the Insert Photo button, which is located in the toolbar below the compose window.
- Select the Upload tab and click on the Choose Photos to Upload button.
- Select the GIF you want to insert and click Open.
- The GIF will be inserted into your email.
Method 2: Using the Insert Image from URL option
- Open Gmail and compose a new email.
- Right-click on the GIF you want to insert and select Copy Image Address.
- Click on the Insert Photo button, which is located in the toolbar below the compose window.
- Select the Insert Image from URL option.
- Paste the GIF URL into the Image URL field and click Insert.
- The GIF will be inserted into your email.
How to insert GIF into an Outlook E-mail?
There are two ways to insert GIF into an email Outlook:
Method 1: Using the Insert Pictures button
- Open Outlook and compose a new email.
- Click on the Insert Pictures button, which is located in the Insert tab of the ribbon.
- Select the From File option.
- Locate the GIF you want to insert and double-click on it.
- The GIF will be inserted into your email.
Method 2: Using the Insert Online Pictures option
- Open Outlook and compose a new email.
- Click on the Insert Pictures button, which is located in the Insert tab of the ribbon.
- Select the Online Pictures option.
- In the Search for online pictures field, type in a keyword related to the GIF you want to insert.
- Click on the Search button.
- Select the GIF you want to insert and click on the Insert button.
- The GIF will be inserted into your email.
Tips on using GIFs in E-mail marketing
GIFs can be a great way to add personality, humor, and engagement to your email marketing campaigns. However, it's important to use them wisely to avoid overwhelming your recipients or making your emails appear unprofessional. Here are some tips for send GIFs in an email marketing:
1. Use GIFs that are relevant to your message.
Don't just insert a GIF for the sake of it. Make sure the GIF is relevant to the topic of your email or the product or service you're promoting.
2. Keep GIFs short and sweet.
People don't have time to watch long GIFs. Keep your GIFs short and to the point, ideally no more than a few seconds long.
3. Use GIFs sparingly.
Don't overload your emails with GIFs. Too many GIFs can make your emails appear cluttered and overwhelming.
4. Use high-quality GIFs.
Don't use pixelated or grainy GIFs. Use high-quality GIFs that look professional and polished.
5. Test your GIFs before you send them.
Make sure your GIFs display properly in all email clients. You can do this by testing them in a variety of email clients before you send your campaign.
6. Use GIFs with caution when emailing to international audiences.
GIFs can be interpreted differently in different cultures. Be sure to consider the cultural background of your audience when using GIFs.
7. Use GIFs that are appropriate for your brand.
Make sure the GIFs you use are consistent with your brand's voice and tone.
8. Use GIFs to highlight key points.
You can use GIFs to highlight key points in your emails, such as product features or customer testimonials.
9. Use GIFs to tell a story.
You can use GIFs to tell a short story that will engage your recipients.
10. Use GIFs to add a call to action.
You can use GIFs to add a call to action to your emails, such as a link to a landing page or a product page.
11. Be mindful of file size.
Large GIFs can slow down your emails and make them take longer to load. Try to keep your GIFs under 1MB.
12. Use alt text for accessibility.
Alt text is text that describes the content of an image for people who are blind or visually impaired. Make sure to include alt text for your GIFs so that everyone can enjoy them.
Final thoughts
As you can see, adding GIFs to your emails is a quick and easy way to make them more engaging and visually appealing. With just a few clicks, you can add a touch of personality and humor to your messages, making them more likely to be read and remembered.
So go forth and spread some animated joy, transforming your emails from boring text blocks to engaging works of visual communication. Remember, GIFs are not just about fun and games; they can also be powerful tools for enhancing your message, adding personality, and making your emails more engaging.
Frequently Asked Questions
Here are the most frequently asked questions related to how to insert a gif into an email:
Why can’t insert GIFs in Outlook?
There could be several reasons why you're unable to insert GIFs in Outlook. Common issues include incompatible file formats, security settings, or file size limitations. Ensure you're using a supported format, adjust security settings if needed, and consider resizing large GIFs before attempting to insert them.